Day 12 - Service (2)
本日共賞
- 連接到 Pod
希望你知道
連接到 Pod
昨天我們建立的一個名為 web 的 Service 物件意在讓 k8s 提供一個端口能夠讓 k8s 外的使用者能夠連接到內部的 Pod。
這裡有個觀念要釐清一下,不一定要先建立 Pod 物件然後再建立 Service 物件。還記得 Day 10 建構組件 - 提到的 Selector 與 Label 嗎? Service 物件會根據 Selector 與 Label 來決定應該要綁定叢集中哪些 Pod ,所以當然有可能這些 Pod 並不存在。但是只要 Service 能找到指定的 Pod ,它就會幫我們綁定以便使用。
底下我們來看看沒有綁定 Pod 的 Service 會是什麼樣子。首先先清除 default 命名空間內所有的 Deployment, Pod 以及 web Service
$ kubectl delete --all deployments --namespace=default
deployment "nginx" deleted

<=== 底下是預防有其他的 Pod 故一併刪除
$ kubectl delete --all pods --namespace=default
pod "nginx-75f4785b7-6fbd4" deleted
pod "nginx-75f4785b7-g284n" deleted
pod "nginx-75f4785b7-vd4tt" deleted

$ kubectl delete service web
service "web" deleted
接著重新部署 Service 物件 service.yaml
service.yaml 可在 https://github.com/jlptf/ironman2018-day11 下載
$ kubectl apply -f service.yaml
service "web" created
然後觀察一下 Service 內容
$ kubectl describe service web
Name:                     web
Namespace:                default
Labels:                   <none>
Annotations:              kubectl.kubernetes.io/last-applied-configuration={"apiVersion":"v1","kind":"Service","metadata":{"annotations":{},"name":"web","namespace":"default"},"spec":{"ports":[{"port":80,"protocol":"TCP"}],"se...
Selector:                 app=nginx
Type:                     NodePort
IP:                       10.0.0.109
Port:                     <unset>  80/TCP
TargetPort:               80/TCP
NodePort:                 <unset>  32758/TCP   <=== 發生變化了
Endpoints:                <none>   <=== 無對應任何端點
Session Affinity:         None
External Traffic Policy:  Cluster
Events:                   <none>
這裡有幾件有趣的事情
Port 改變:Port 由 31063 變成 32758 說明在不指定 Port 的情況下, k8s 會自動分配無對應任何端點:表示根據Selector與LabelService 無法找到任何對應的 Pod
接下來,我們再重新部署一次 simple.yaml 後再觀察一次 web
simple.yaml 可以在 https://github.com/jlptf/ironman2018-day10 找到
$ kubectl apply -f simple.yaml
deployment "nginx" created

$ kubectl describe service web
Name:                     web
Namespace:                default
Labels:                   <none>
Annotations:              kubectl.kubernetes.io/last-applied-configuration={"apiVersion":"v1","kind":"Service","metadata":{"annotations":{},"name":"web","namespace":"default"},"spec":{"ports":[{"port":80,"protocol":"TCP"}],"se...
Selector:                 app=nginx
Type:                     NodePort
IP:                       10.0.0.109
Port:                     <unset>  80/TCP
TargetPort:               80/TCP
NodePort:                 <unset>  32758/TCP
Endpoints:                172.17.0.3:80,172.17.0.7:80,172.17.0.8:80  <=== 對應到新部署的 3 個 Pod
Session Affinity:         None
External Traffic Policy:  Cluster
Events:                   <none>
從 Endpoints 我們可以看到 web 已經找到對應的三個 Pod,表示如果有 Port: 32758 的需求 (Request) 都會被導到這三個 Pod 其中的一個。
到這裡已經大功告成,讓我們試著連到 Pod。首先透過下面指令查看 minikube ip
$ minikube ip
192.168.99.100
接著打開瀏覽器輸入
http://[ip]:[port] <=== 請修正 ip 與 port

例如
http://192.168.99.100:32758
一切順利的話,你應該可以看到底下 Nginx 的歡迎畫面
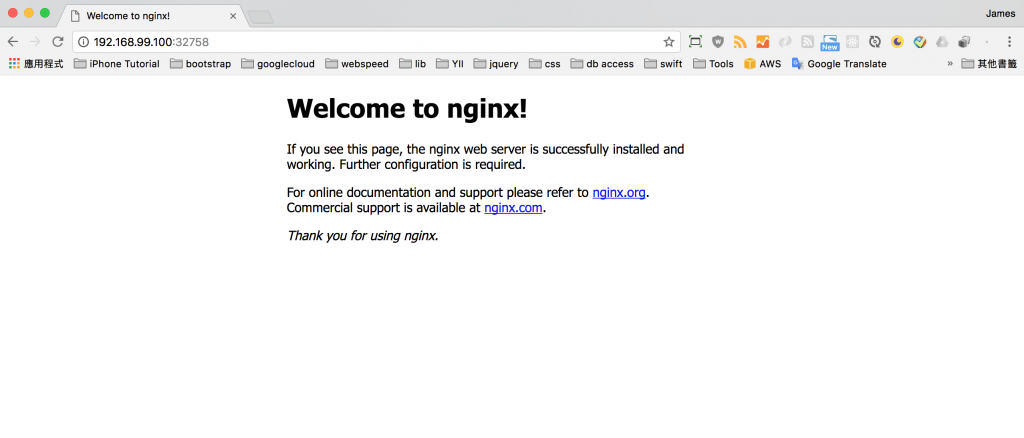
恭喜你成功部署並順利連接到第一個應用程式!!!
這裡說明了一個很重要的概念:解耦。大家應該有發現,Servcie 與 Pod 之間透過 Label 跟 Selector 綁定,但是 Service 與 Pod 產生的順序並沒有限制。只要需要綁定的 Pod 被產生,k8s 就會自動幫我們建立關係,當然,前提是 Label 與 Selector 要正確。